


We all have fabric scraps that we wonder if it wouldn't be better to throw them away. Do not! Above you see some examples of what you can make with scraps. In this post I show you step by step how to create a layered slashed textile art piece.

Everything starts with finding a good color combination with contrasting fabrics. You can decide for yourself whether you only choose plain fabric or prefer to use fabrics with motifs. In this example I chose a combination of both.
You need at least 4 layers of fabric, I chose six layers.

A layer can also consist of fabric scraps sewn together as shown in the example here. I used several bands of red fabric for this. I kept this 'new' fabric for layer 5. The blue fabric is a linen lining I took from a worn skirt.
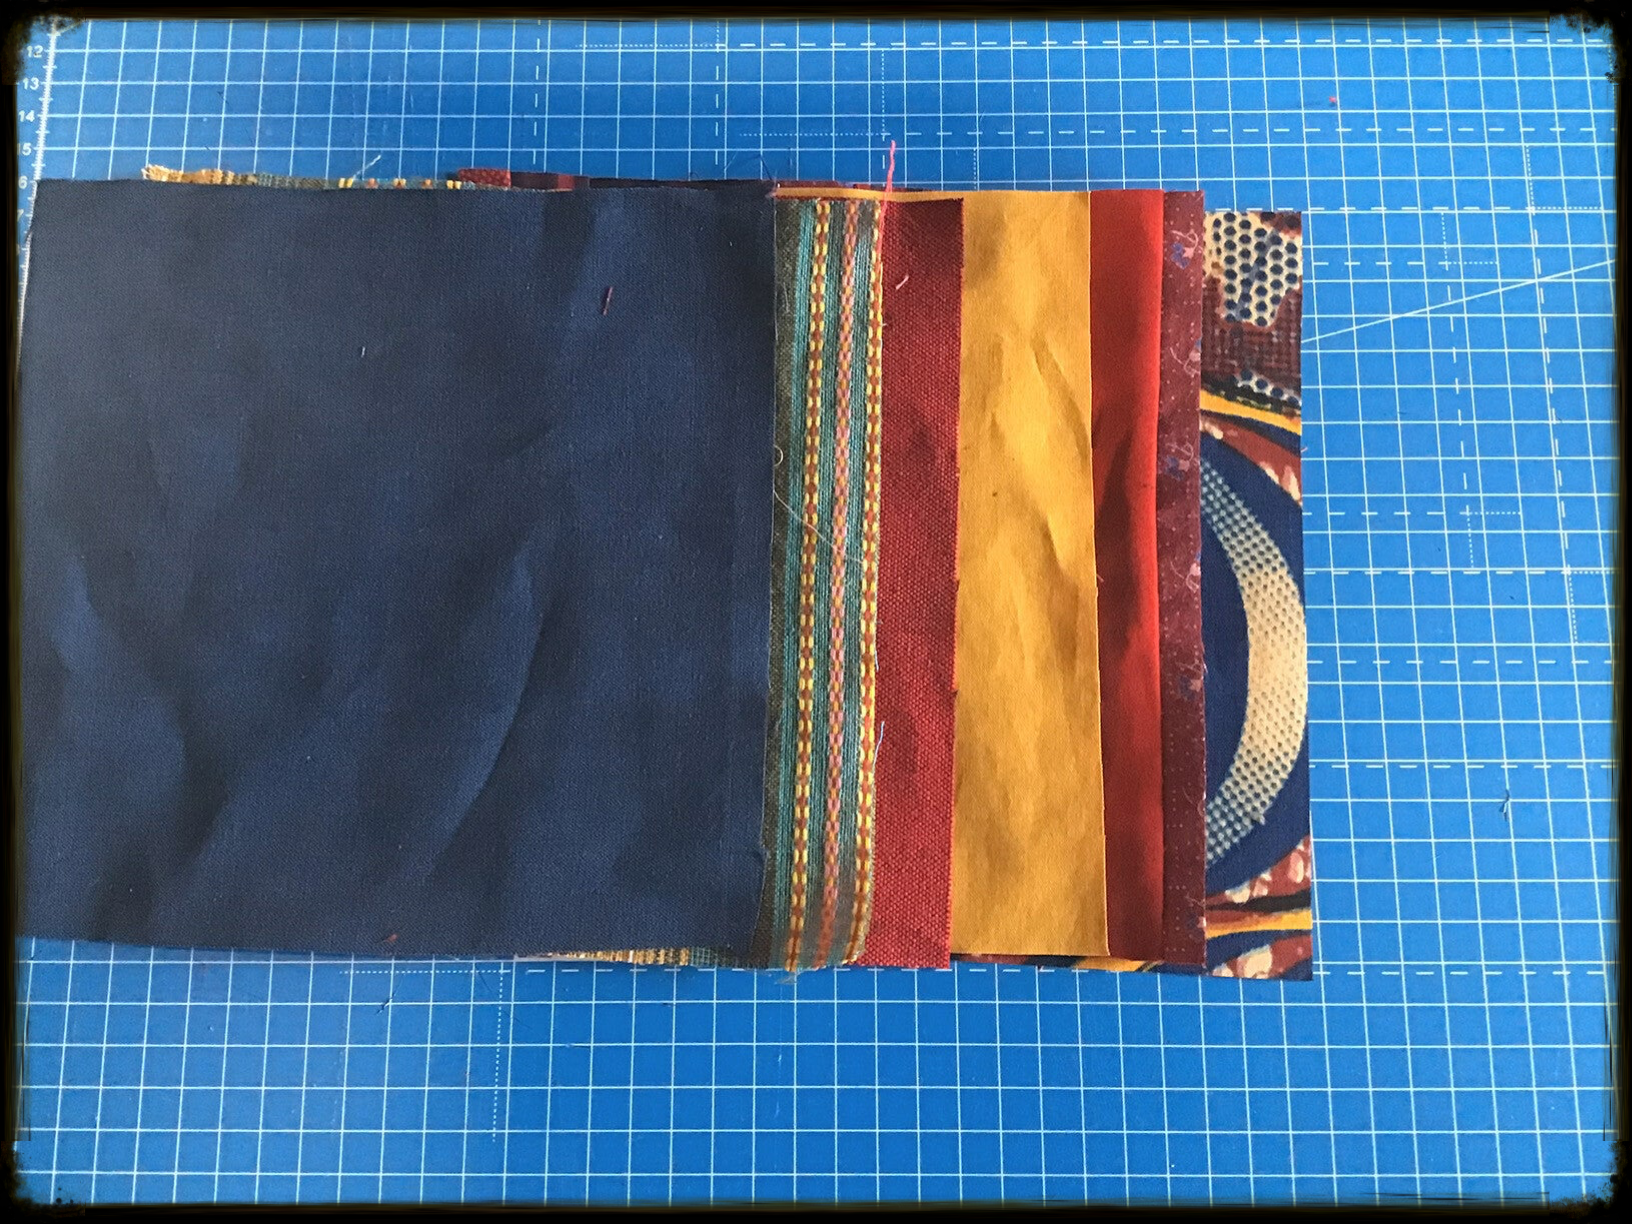
You decide how big you want to make the work. Here I chose a square of 20 by 20 cm (8'') to explain the concept. You stack the fabric layers on top of each other, making sure there is a clear color difference from one fabric to the next. For example, the color of the first layer must contrast strongly with the color of the second layer, and so on.

Before you continue processing the fabric, first draw on a sheet of paper which pattern you want to use. When you are satisfied with your design, you have to draw it on the bottom layer of the fabric stash. That's layer six in my case. You can use a chalk or a FriXion pen for this. For the design of the pattern I used toy blocks and a ruler as tools. You can also work with other geometric figures and lines.
After the pattern has been traced onto the bottom layer of fabric, neatly pin the edges of the layers together. When stacking the layers, make sure that the right side of the fabric is facing up. We use the sewing machine to sew with a straight stitch of stitch length 2.5 on the drawn lines. The thread color we use in the bobbin is a color that matches the top layer of fabric.

Now comes the exciting work.
We turn our fabric over so that the top layer can be seen. Choose a good pair of scissors or a recently purchased seam ripper that is nice and sharp. With that, we're going to slash. You have many choices. Where will you cut or slice? How many layers do I cut away? Or do I leave the fabric and just cut through the layers and then pull them open a bit, as shown in the squares on the example. Be careful not to cut through all the layers! Never cut over the sewing lines! I have tried to demonstrate different ways of slashing.
This small tutorial is the basis of the layering and slashing technique. Once you've mastered that, let your imagination run wild. You can use a photo as the basis for your design. You can also give accents and embellish the work with embroidery, pearls and the like.
This fabric slashing technique can be applied in the creation of beautiful cushions, bags and even unique garments?
You can see more examples on my Pinterest account.
Reactie plaatsen
Reacties
This is a great idea. I see many ways to use it.
Thank you for posting.
Thank you