


Baby clothes are cute, fun to make but quick to be discarded since babies grow so fast. So when asked to make a handmade gift for a baby, I prefered to make something that lasts, like a baby quilt!
I’ve always been involved in education. I homeschooled my children, and studied many books on the subject. It is one of my passions. When I’m with kids, I love to do something ‘educational’ with them, teach them something, be it in a game or studying together on an interesting topic for their age, you name it. I guess that’s why I decided to add an ‘educational touch’ to the quilt I would be making.


I went for bright colors, red, blue and yellow with some additional matching colors. While muted colors because of their soothing influence are best for the environment where the child lives, bright colors in toys, clothes and blankets stimulate the visual development. For a nice soft backing I would use fleece.
Quilting, using complicated patterns, is not really my thing. I like to keep it simple.
You start with drawing a quilt pattern so you know how many blocks you need from each color. You can use colored pencils and a piece of paper to do that. I thank my husband, he drew the quilt for me in procreate.
Once you have everything drawn out you can look for the right fabric. Since I try to reuse as much as I can, I first went to my fabric stash and was happy to find all I needed for the quilt top.
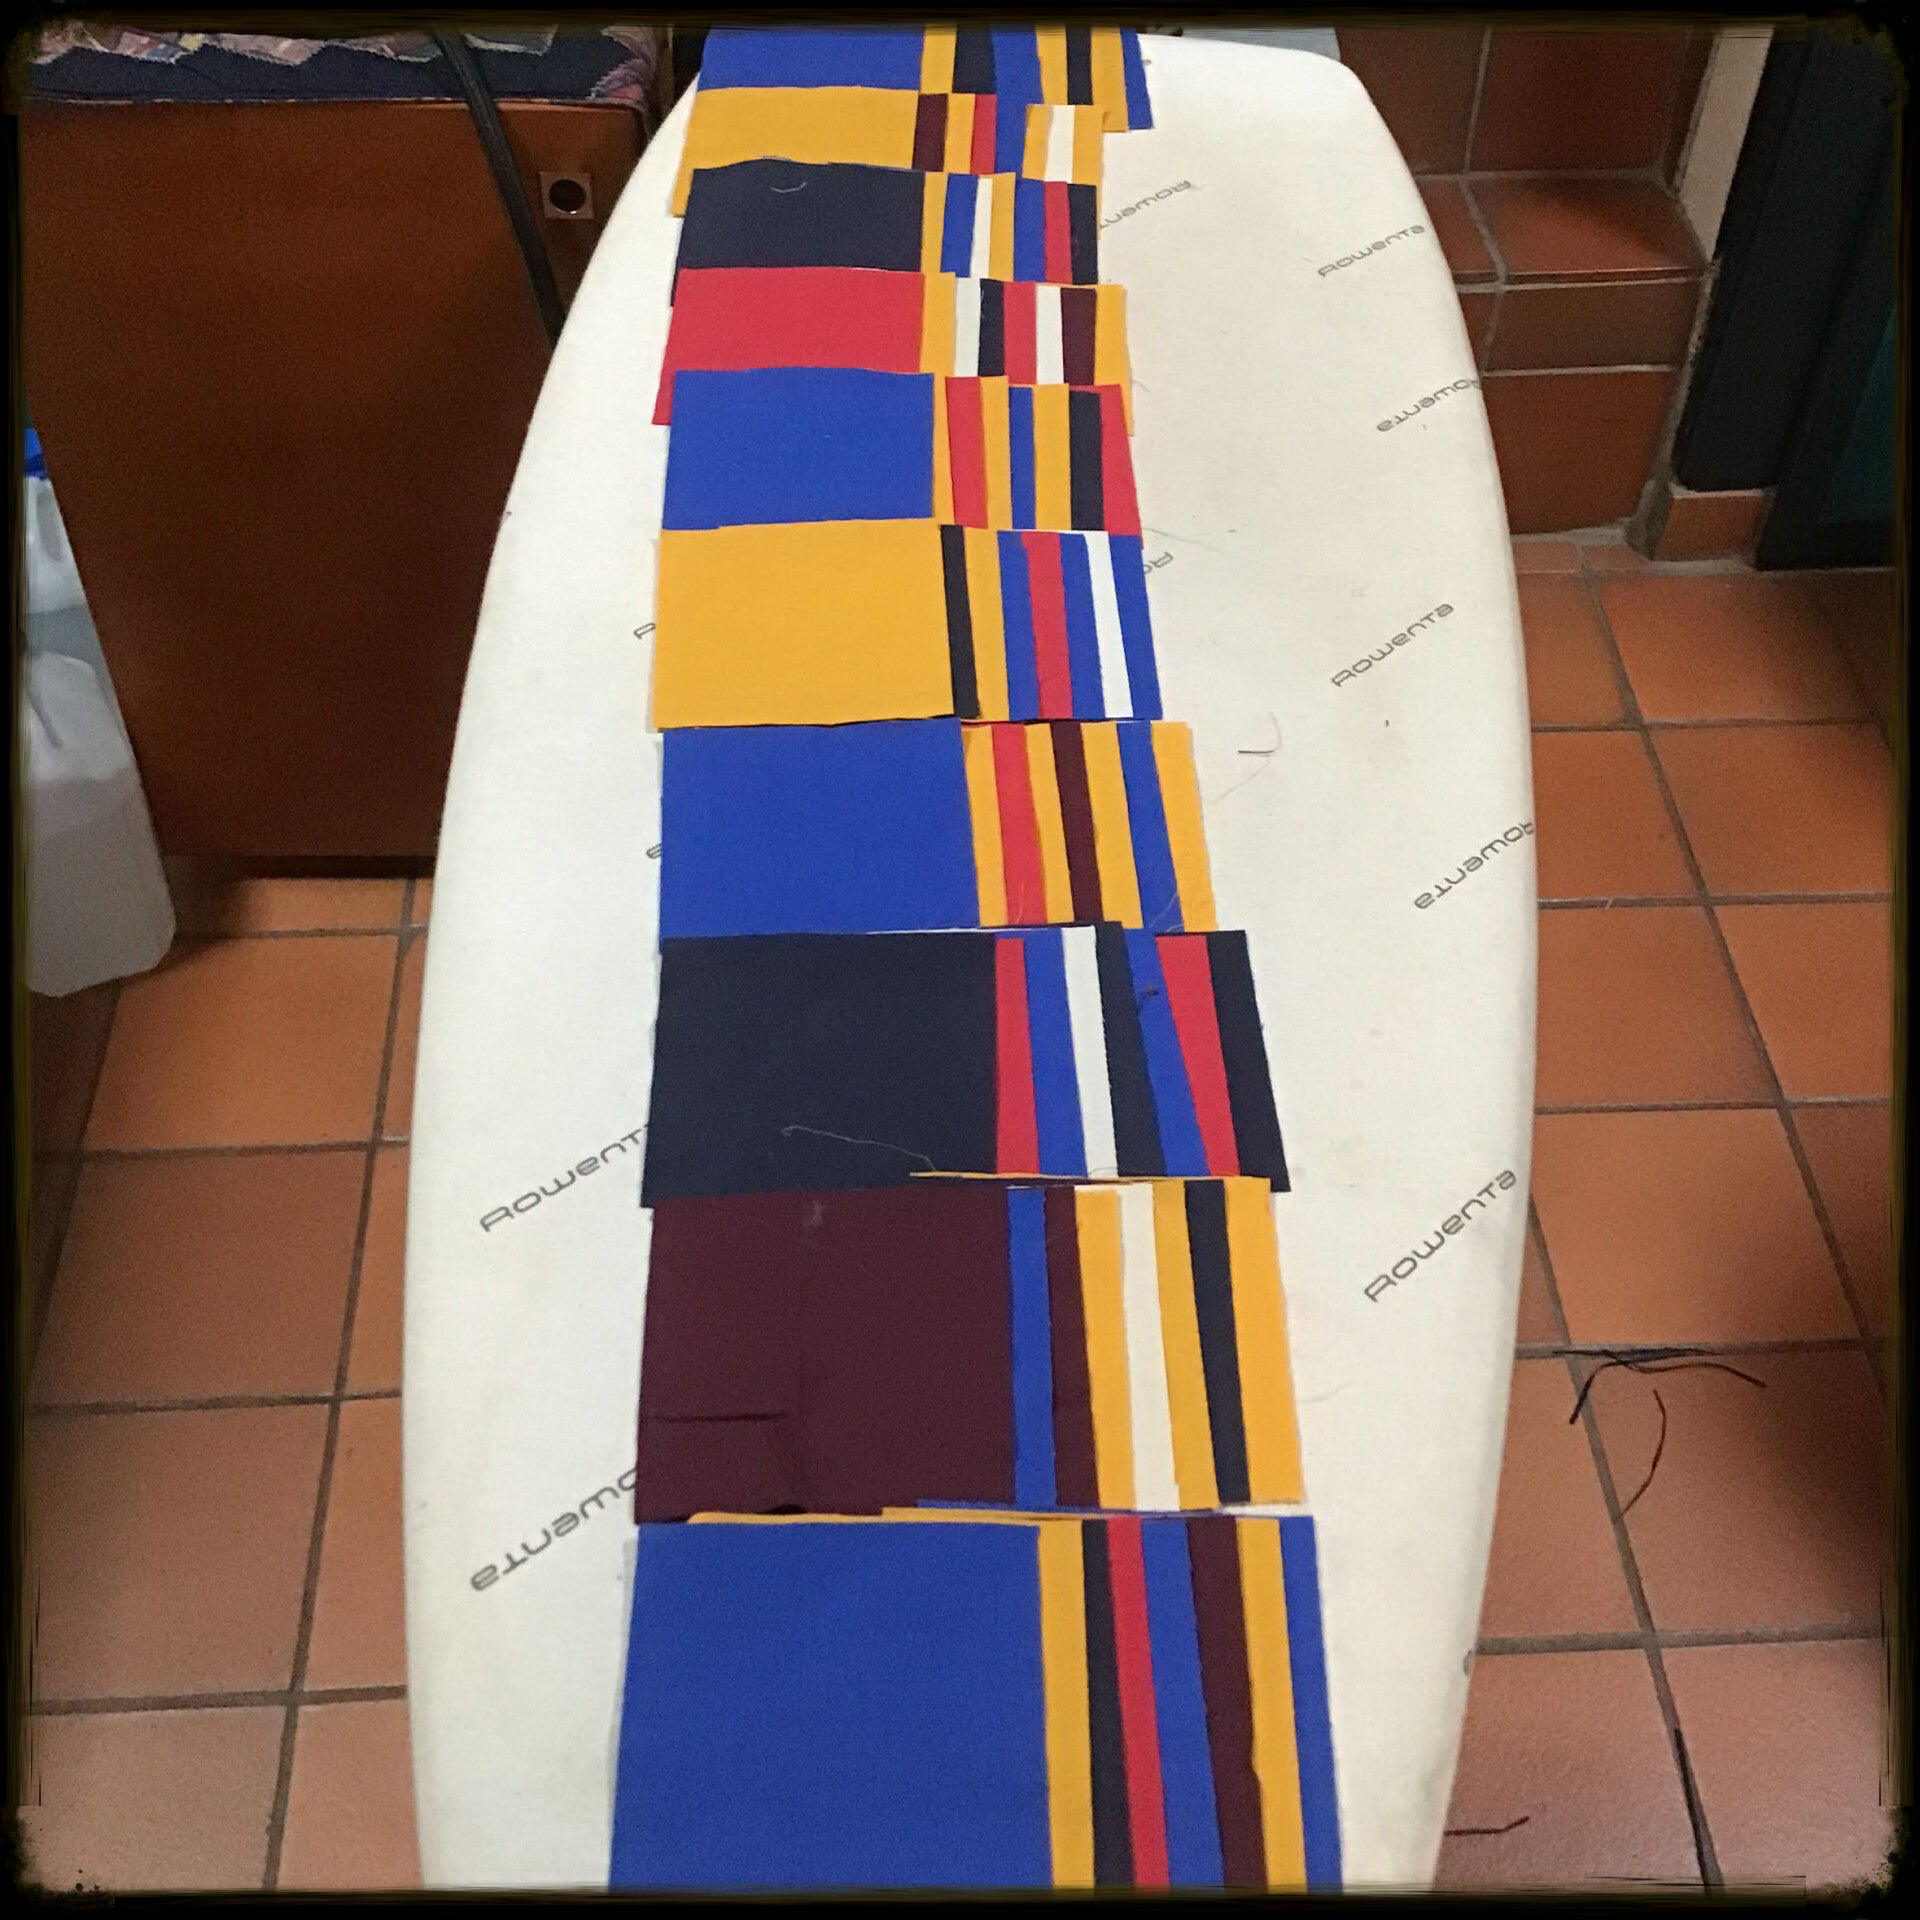
I laundered and ironed the fabric, cut them in squares and laid them out, acording to the drawn quilt pattern.
As you can see, it’s important to lay the squares out in the exact order. I marked the rows with a post-it sticker, numbering them one to ten.
Once the stitching was done, Sashiko like, machine embroidery was added to some blocks.
I used the pool noodles method to sandwich the quilt layers.

The fleece for the backing I had to buy. I decided against freemotion quilting because the softness of the fleece would be somewhat lost. So the quilt is hand tied.
Now it’s time to bind the quilt. This video shows you exactly how to. My color of preference for the binding was the bright blue.
I did handsew the binding on the backside. It’s relaxing while listening to an audio book. Stitch in the ditch is another option to finish the binding.
Hanging the quilt on my display wall, gives me a feeling of satisfaction. It’s a one of a kind gift, this newborn will be able to treasure for years to come.
Reactie plaatsen
Reacties